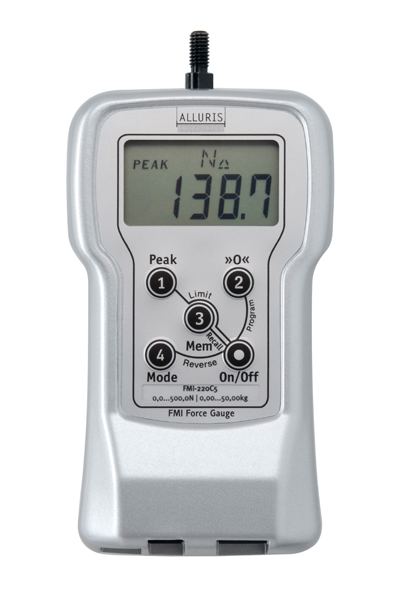
Designed for users with high demands in the field of development for design verification and validation, or determination of quality standards with a high demand on accuracy and reproducibility of measured values.
- Data logging and USB interface - with memory function and limit value monitoring
- Peak measurement with 0.05% accuracy - the high measurement rate allows for precise break detection
- Stores 1,000 measurements or 50 measuring series
- Simply display with LED indicator and signal outputs for upper/lower limit values

Got a question about this solution?
Get in touch and speak to one of our Technical Sales Engineers now...
Speak to an expert
The robust bidirectional measuring cell combines high accuracy and a very high overload protection. These instruments can measure traction as well as compression forces. The results are shown on a large, reversible display, and can be indicated in Newton or units of weight.
Up to 1000 single measured values or 50 measuring series can be stored in the internal data logger. Furthermore, upper and lower limit values can be set which trigger the red or green LED and the signal output. Additional to that the limit values are shown in the display.
Due to fast measurement value processing peak values, for example for break forces can be measured precise and reproducible. During measurement current values or peak values (pointer function) can be shown.
